自签名证书配置流程
ON THIS PAGE
安装 OpenSSL
生成证书
安装好 OpenSSL 打开命令行工具
openssl req -x509 -nodes -days 365 -newkey rsa:2048 -keyout cert.key -out cert.crt -sha256 -addext "subjectAltName=DNS.1:localhost,IP.1:192.168.1.6"
subjectAltName ,为证书指定域名或者IP地址
运行命令后,会提示输入一些补充信息,这里可以一直回车使用空白信息或者默认值。

完成后会生成两个文件

cert.crt 是证书,cert.key 是私钥。
node.js 运行自签名 SSL 服务
// serve.js
// node serve.js

const https = require("https");
const port = process.env.PORT || 3000;
const fs = require("fs");

https
  .createServer(
    {
      key: fs.readFileSync("./cert.key"),
      cert: fs.readFileSync("./cert.crt"),
    },
    (req, res) => {
      res.writeHead(200);
      res.end("hello")
    }
  )
  .listen(port);

console.log(`Node server listening on port ${port}`);
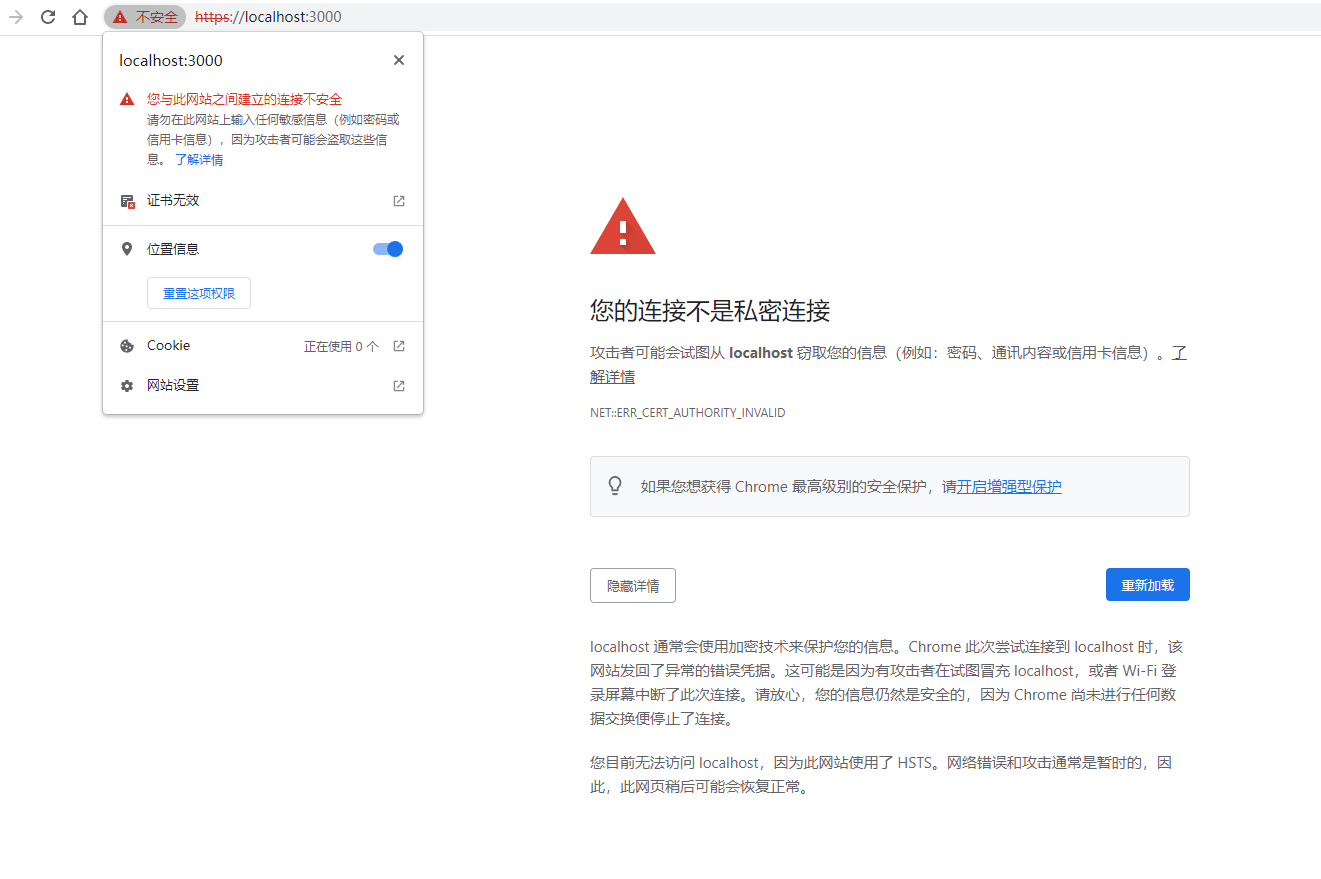
自签证书不是由 CA(Certificate Authority 数字证书颁发机构)签发,所以浏览器会提示证书无效。

如果想要在浏览器正常访问自签证书服务,需要将证书(上面 OpenSSL 生成的 cert.crt)安装到本地。
下面分别介绍不同系统的安装方法:
Windows 系统安装证书
使用命令行工具安装
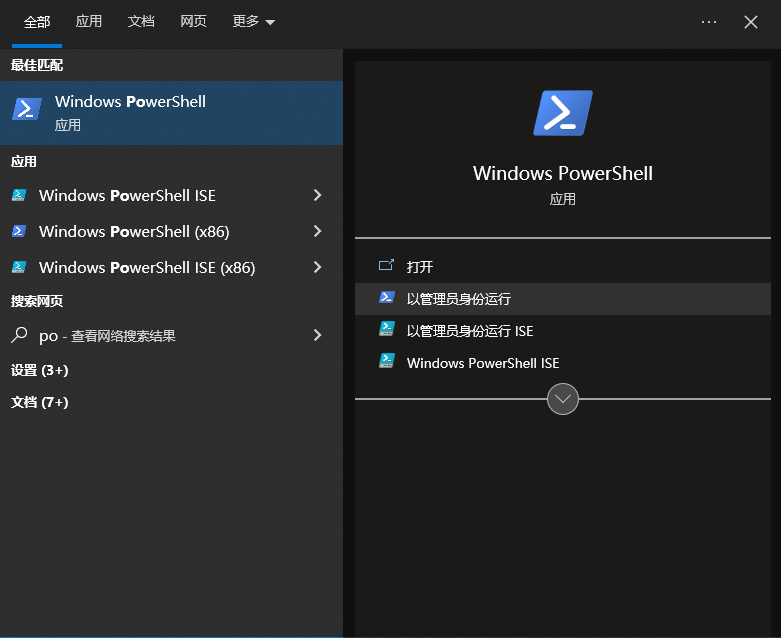
1、使用管理员身份运行 PowerShell

2、使用 Window 自带的 Certutil.exe 执行添加证书命令
certutil -enterprise -f -v -AddStore "Root" <Cert File path>

# 将文件拖拽到 PowerShell,可自动填充文件路径
3、重启浏览器
也可以使用图形化界面安装
Installing the trusted root certificate 跳转到微软官网查看
Windows 系统签名检查
下载微软的签名检查工具 Sigcheck
Sigcheck is a command-line utility that shows file version number, timestamp information, and digital signature details, including certificate chains.
./sigcheck64.exe -tuv

# Listing valid certificates not rooted to the Microsoft Certificate Trust List
IOS 系统安装证书
1、将证书下载到手机,根据提示安装
2、在设置 => 通用 => 描述文件中添加信任
3、在设置 => 通用 => 关于本机 => 证书信任设置中添加信任
Mac 系统安装证书
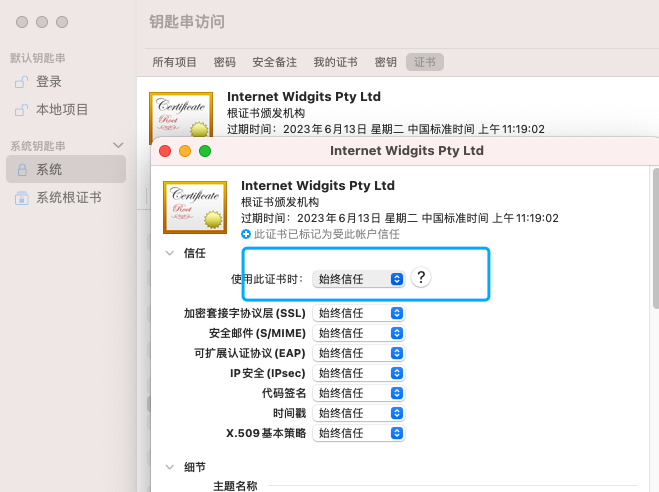
双击 cert.crt 文件,在系统 -> 证书 -> 信任的地方调整为始终信任

安装完成后,在浏览器可正常访问。

2022-07-19